Unleashing the Hidden Potential: Taming the Windows Modules Installer Worker High CPU
Understanding Windows Modules Installer Worker
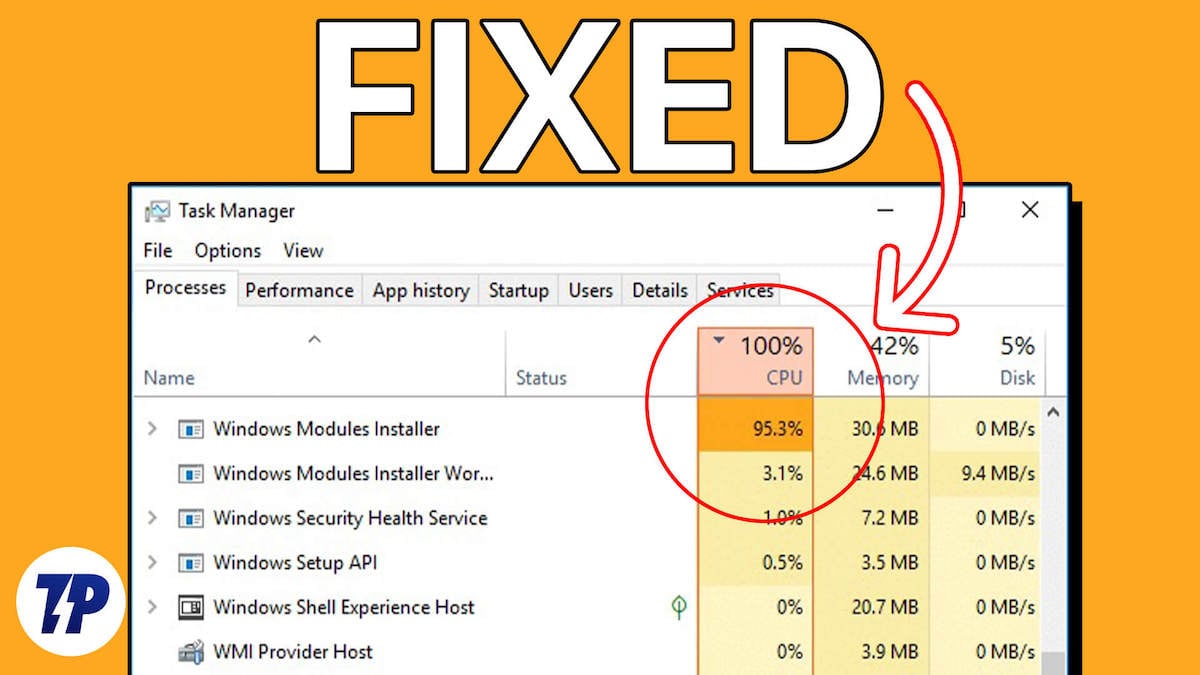
If you’re experiencing high CPU usage due to the Windows Modules Installer Worker (TiWorker.exe) process, there are a few steps you can take to fix the issue.
First, check if your antivirus software is causing conflicts. Microsoft Defender Antivirus is recommended for Windows 10 and should work seamlessly with Windows Modules Installer Worker.
Next, run a System File Checker scan to check for corrupted files that may be causing the high CPU usage. Open Command Prompt as an administrator and run the command “sfc /scannow“.
If malware is suspected, perform a full scan using your antivirus software.
You can also use Task Manager to identify any other processes that may be causing high CPU usage and end them if necessary.
Finally, make sure your Windows is up to date by running Windows Update. Sometimes outdated files can cause high CPU usage.
By following these troubleshooting steps, you should be able to resolve the Windows Modules Installer Worker high CPU issue.
Determining if Windows Modules Installer Worker is a virus or malware
If you are experiencing high CPU usage due to the Windows Modules Installer Worker, it is important to determine if it is a virus or malware. To do this, you can follow these steps:
1. Open Task Manager by pressing Ctrl + Shift + Esc.
2. Look for the process named “TiWorker.exe” under the “Processes” tab.
3. If the process is consuming a high amount of CPU or disk usage, it may indicate a problem.
4. To further investigate, right-click on “TiWorker.exe” and select “Open File Location” from the context menu.
5. This will open the folder containing the file. If the file is located in the “C:\Windows\WinSxS” directory, it is likely not a virus or malware.
6. However, if the file is located in a different directory or if you suspect it to be malicious, it is recommended to run a thorough scan with Microsoft Defender Antivirus or other reputable antivirus software.
7. Additionally, you can use the System File Checker tool to check for any corrupted system files that may be causing the high CPU usage.
8. Remember to keep your Windows operating system and antivirus software up to date to prevent such issues in the future.
Reasons for high CPU usage by Windows Modules Installer Worker
- Windows Updates: The Windows Modules Installer Worker is responsible for installing, modifying, and removing Windows updates. When updates are being downloaded or installed, it can result in high CPU usage.
- Background Maintenance: The Windows Modules Installer Worker also performs background maintenance tasks, such as repairing system files or optimizing Windows components. These tasks can consume significant CPU resources.
- Scan for System Files: The Windows Modules Installer Worker periodically scans system files to ensure their integrity. This scan can cause high CPU usage, especially if a large number of files need to be verified.
- Resource Intensive Updates: Certain updates require more system resources to be installed. When these updates are being processed, the Windows Modules Installer Worker might utilize a high amount of CPU power.
- Conflicts with Antivirus Software: Some antivirus programs may interfere with the operation of the Windows Modules Installer Worker, causing it to consume excessive CPU resources. It is recommended to ensure your antivirus software is compatible with Windows updates.
- Corrupted Update Components: If the update components of Windows Modules Installer Worker become corrupted, it may lead to high CPU usage. Repairing or reinstalling these components can help resolve the issue.

powershell

# Check for available updates

$Session = New-Object -ComObject Microsoft.Update.Session

$Searcher = $Session.CreateUpdateSearcher()

$SearchResult = $Searcher.Search("IsInstalled=0")
# Install available updates
$Installer = New-Object -ComObject Microsoft.Update.Installer
$Installer.Updates = $SearchResult.Updates
$Installer.Install()
Please note that the above code is just a basic example and may require additional error handling, authentication, or customization depending on your specific requirements. It’s always recommended to refer to official Microsoft documentation or seek guidance from Windows development resources for more comprehensive solutions.
Remember, any modifications or tools related to system processes should be handled with caution, as they can impact the stability and security of your system.
Disabling Windows Modules Installer Worker
To fix high CPU usage caused by the Windows Modules Installer Worker, you can disable the service. Here’s how:
1. Press Ctrl+Shift+Esc to open Task Manager.
2. In Task Manager, go to the “Processes” tab.
3. Look for “TiWorker.exe” in the list of processes.
4. Right-click on “TiWorker.exe” and select “End Task”.
5. Open the Start menu and type “Services” to open the Services app.
6. In the Services app, scroll down to find “Windows Modules Installer”.
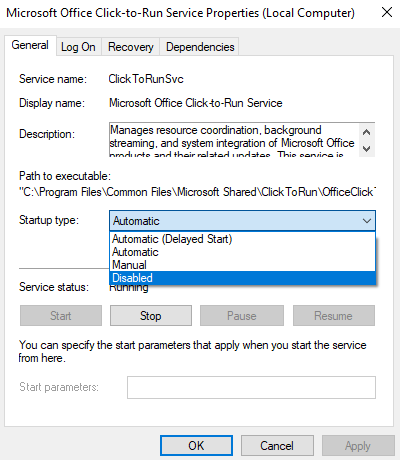
7. Right-click on “Windows Modules Installer” and select “Properties”.
8. In the “Properties” window, click on the “General” tab.
9. Change the “Startup type” to “Disabled”.
10. Click “Apply” and then “OK” to save the changes.
Disabling the Windows Modules Installer Worker service will prevent it from automatically running and using high CPU resources. However, keep in mind that this may affect the installation of Windows updates in the future. If you encounter any issues related to Windows updates, you can re-enable the service using the same steps.
Methods to fix high CPU usage by Windows Modules Installer Worker
- Open Control Panel from the Start menu.
- Click on System and Security.
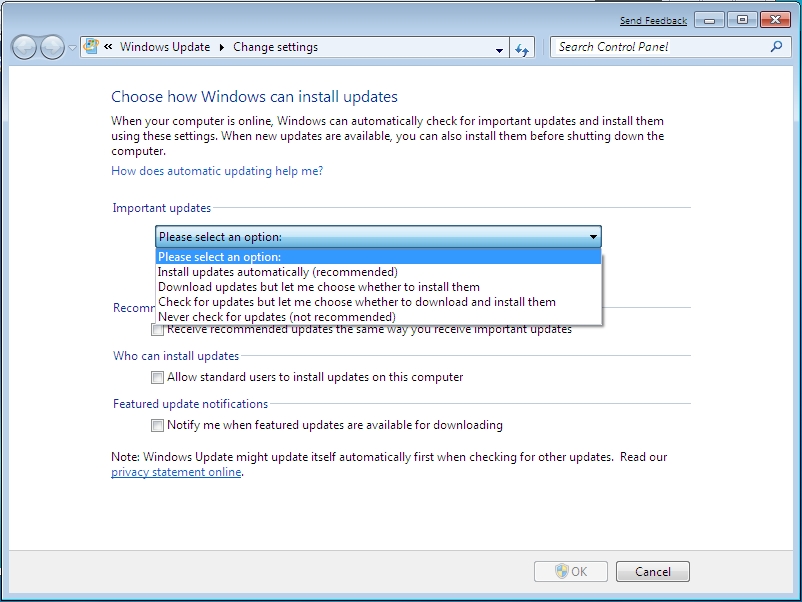
- Select Windows Update to open the Windows Update settings.
- Click on Change settings on the left side of the window.
- In the Important updates section, choose Never check for updates (not recommended).
- Click OK to save the changes.
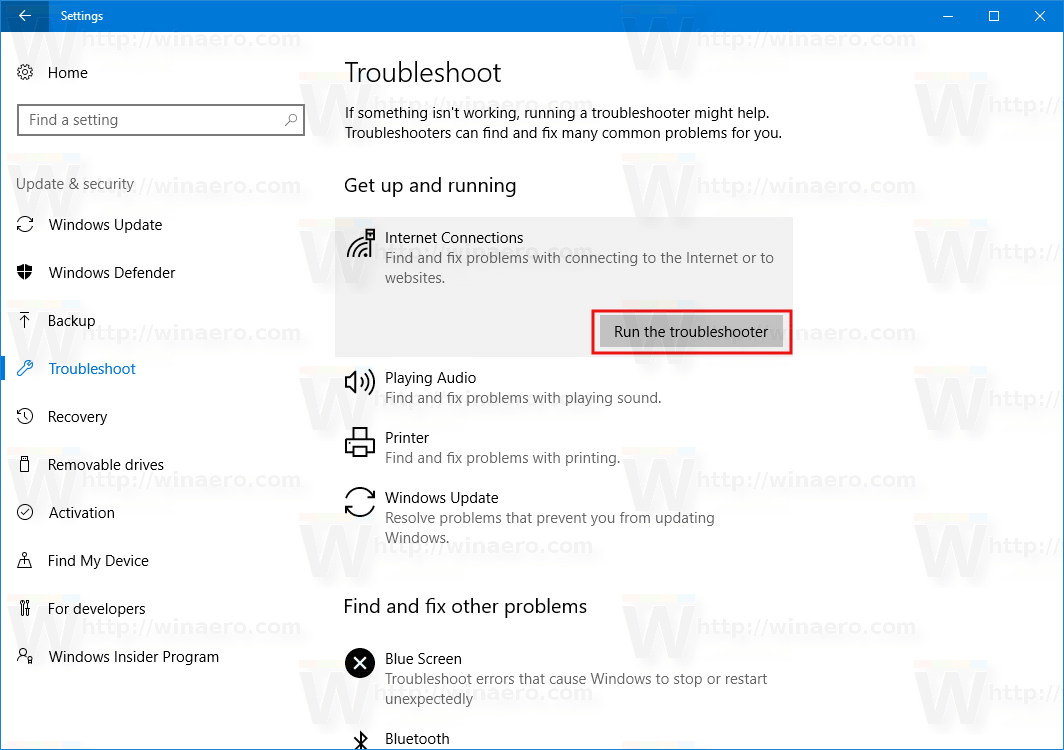
Method 2: Run Windows Update Troubleshooter
- Press Windows key + I to open the Settings app.
- Click on Update & Security.
- In the left sidebar, select Troubleshoot.
- Scroll down and click on Additional troubleshooters.
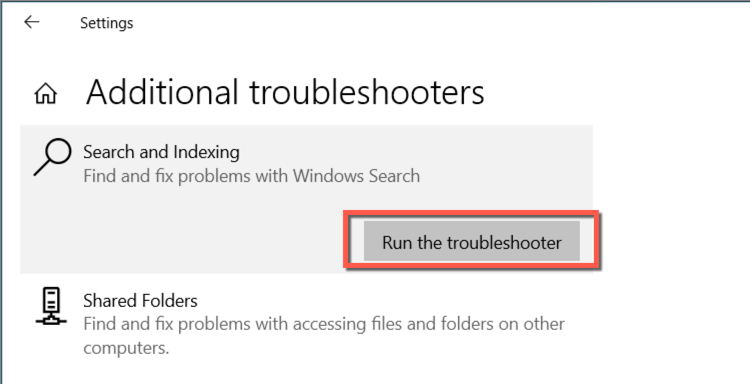
- Click on Windows Update and then click Run the troubleshooter.
- Follow the on-screen instructions to complete the troubleshooting process.
Method 3: Disable Windows Modules Installer Worker
- Press Windows key + R to open the Run dialog box.
- Type services.msc and press Enter.

- Scroll down and locate Windows Modules Installer in the list of services.
- Right-click on it and select Properties.
- In the General tab, change the Startup type to Disabled.
- Click Apply and then OK to save the changes.
Method 4: Perform a System File Checker scan
- Open Command Prompt as an administrator.
- Type sfc /scannow and press Enter.
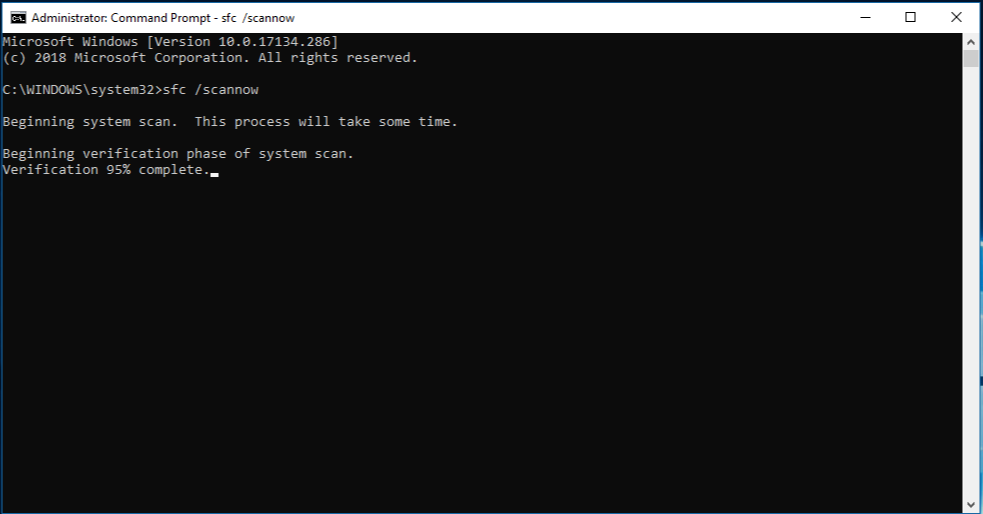
- Wait for the scan to complete. This process may take some time.
- If any corrupted system files are found, the System File Checker will attempt to repair them automatically.
- Once the scan is finished, restart your computer.
Removing the SoftwareDistribution folder
To fix high CPU usage caused by the Windows Modules Installer Worker, you can try removing the SoftwareDistribution folder. This folder is where Windows stores temporary files for updates and installations.
To remove the SoftwareDistribution folder, follow these steps:
1. Open Task Manager by pressing Ctrl + Shift + Esc.
2. Click on the “Processes” tab and look for “tiworker.exe” or “Windows Modules Installer Worker”.
3. Right-click on the process and select “End task”.
4. Press Windows key + R to open the Run dialog box.
5. Type “%windir%” and hit Enter. This will open the Windows folder.
6. Locate the “SoftwareDistribution” folder and right-click on it.
7. Select “Delete” from the context menu.
8. Restart your computer.
Removing the SoftwareDistribution folder can help resolve high CPU usage caused by the Windows Modules Installer Worker.
Restarting the Windows Update Service
To fix high CPU usage caused by the Windows Modules Installer Worker, you can try restarting the Windows Update Service.
1. Open the Task Manager by pressing Ctrl + Shift + Esc.
2. In the Task Manager, click on the “Services” tab.
3. Look for the “wuauserv” (Windows Update Service) in the list of services.
4. Right-click on “wuauserv” and select Restart.
5. Wait for the service to restart and check if the CPU usage decreases.
If restarting the service doesn’t resolve the issue, you can also try running the Windows Update Troubleshooter or manually resetting the Windows Update components. These steps can help resolve any underlying issues with the Windows Update service.
Remember to regularly update your Windows 10 operating system to ensure you have the latest patches and security updates. Keeping your system up to date can also help improve overall computer performance.
Using the Windows Update Troubleshooter
To fix the issue of Windows Modules Installer Worker causing high CPU usage, you can use the Windows Update Troubleshooter. Here’s how:
1. Open the Windows Update Troubleshooter. You can do this by searching for “Troubleshoot” in the Start menu and selecting “Troubleshoot settings.”
2. Scroll down and click on “Additional troubleshooters.”
3. Locate and click on “Windows Update” in the list of troubleshooters.
4. Click on “Run the troubleshooter” and follow the on-screen instructions.
5. The troubleshooter will scan for any issues related to Windows Update and attempt to fix them automatically.
6. Once the troubleshooter completes the process, restart your computer and check if the high CPU usage issue is resolved.
Using the Windows Update Troubleshooter can help identify and fix any problems with the Windows Modules Installer Worker, allowing your computer to run more efficiently.
Running the System File Checker (SFC scan)
To fix the issue of high CPU usage caused by Windows Modules Installer Worker, you can run the System File Checker (SFC scan). This tool helps identify and repair corrupted system files that may be causing the problem.
To run the SFC scan:
1. Open the Command Prompt as an administrator.
2. Type “sfc /scannow” and press Enter.
3. Wait for the scan to complete. It may take some time.
4. If any corrupted files are found, the tool will automatically repair them.
5. Once the scan is finished, restart your computer.
The SFC scan can help resolve issues related to system files and improve your computer’s performance. It is a useful troubleshooting step when encountering high CPU usage.